How to Build a Raised Brick Pond: A Comprehensive Guide
Building a raised brick pond can be a rewarding project that enhances your garden while providing a serene environment for aquatic pets. This guide will take you through every step of the process, from planning and preparation to construction, maintenance, and enjoying your new pond.
Planning Your Raised Brick Pond
The first step in any construction project is careful planning. Here are the essential things to consider:
1. Choosing the Right Location
Your raised brick pond should be placed in a spot that receives adequate sunlight—ideally, around 6 hours per day. Consider the following:
- Visibility: Choose a spot that can be easily seen and enjoyed from various angles in your garden.
- Accessibility: Ensure you can easily access the pond for maintenance and feeding of the fish.
- Drainage: Avoid areas where water collects, as this could affect the pond’s integrity.
2. Determining Size and Depth
The size and depth of your pond will determine the types of fish and plants you can keep. A good rule of thumb is to aim for a depth of at least 2 feet to allow for fish to survive through winter. Consider a size that complements your garden landscape, typically ranging from 4 by 6 feet to much larger designs depending on the space you have.
Gathering Materials and Tools
Once you have your plan, it’s time to gather the necessary materials and tools:
- Bricks: Get enough bricks suitable for outdoor use.
- Pond liner: This will help prevent water loss.
- Sand: For creating a base and cushioning the liner.
- Gravel: This will help in filtration and aesthetic purposes.
- Water pump: To keep the water circulating and aerated.
- Tools: A shovel, level, trowel, and waterproof adhesive.
Step-by-Step Construction of Your Raised Brick Pond
Step 1: Marking the Area
Start by marking the perimeter of your pond using stakes and string or spray paint. This outlines the area for excavation and helps visualize the space.
Step 2: Digging the Foundation
Excavate the area within your marked outline to the desired depth. Make sure to keep the edges neat and straight. The depth should be consistent and tailored to ensure stability for your bricks.
Step 3: Creating a Base
Once excavated, create a flat base using sand. This layer will serve as a cushion for your pond liner and bricks, preventing moisture accumulation underneath.
Step 4: Laying the Bricks
Begin laying your bricks in the desired pattern. You might choose a simple square or rectangular structure, or get creative with curves and angles. Be sure:
- To use a level to keep your bricks even and ensure they are stable.
- To consider using mortar between bricks for added stability.
Step 5: Installing the Pond Liner
Once the walls are constructed, it's time to line the inside of your pond. Carefully lay the pond liner over the bricks and into the bottom, leaving enough excess around the top for finishing touches. Secure it in place, as the weight of the water will hold it down.
Step 6: Adding Gravel and Water
Place a layer of gravel on top of the pond liner at the bottom. This will help filter the water naturally and provide a habitat for beneficial bacteria. Gradually fill your pond with water, taking care to smooth out the liner as it fills.
Step 7: Setting Up the Pump and Decorations
Install your water pump according to the manufacturer’s instructions to ensure it circulates the water effectively. Begin adding any rocks, plants, or decorations to create a natural look. Consider native aquatic plants that will thrive in your region.
Maintaining Your Raised Brick Pond
Once your raised brick pond is complete, regular maintenance is key to its longevity and health:
1. Regular Water Testing
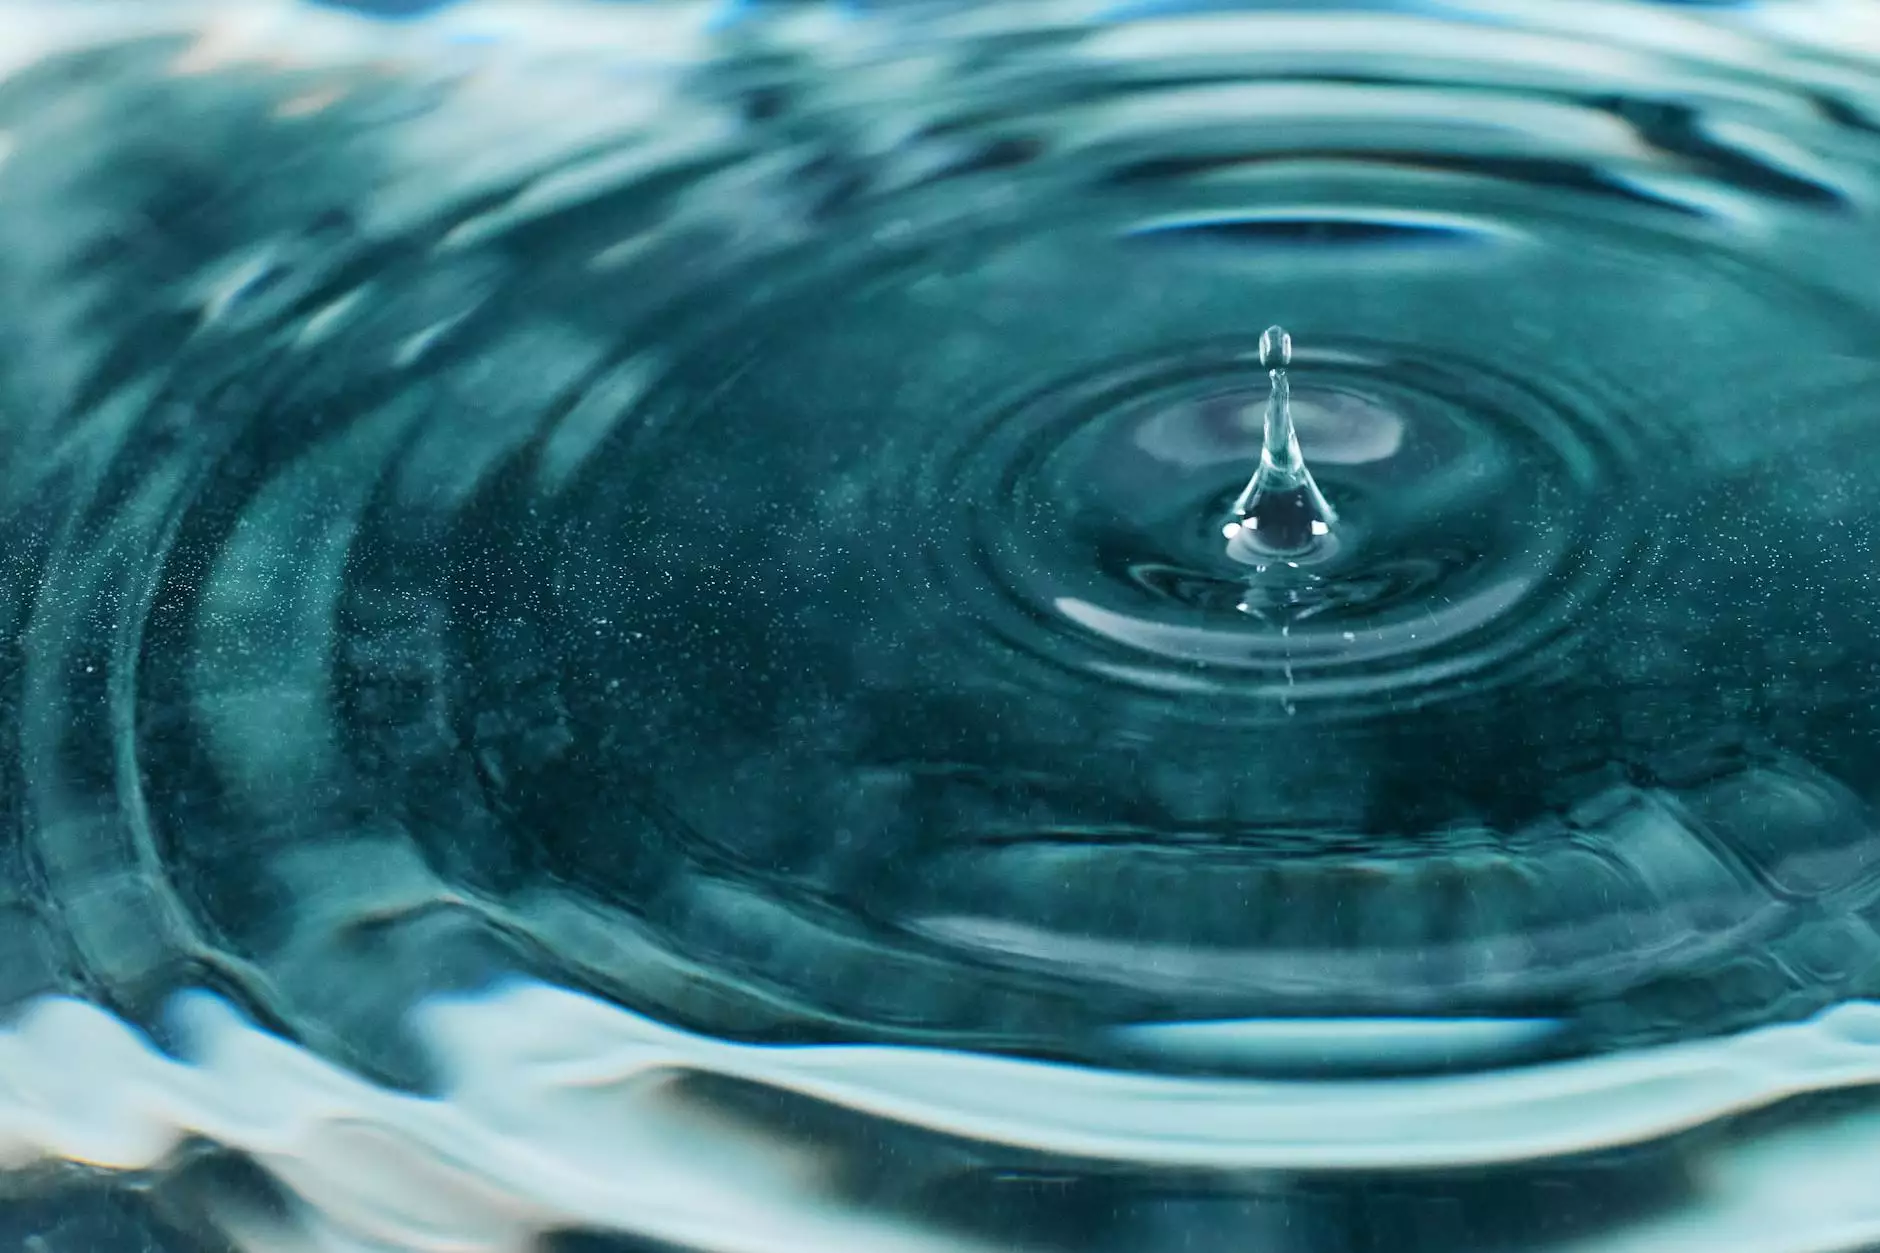
Check the water quality regularly. You should monitor pH, ammonia levels, nitrate and nitrite levels. Proper balance is critical for the health of your fish and aquatic plants.
2. Seasonal Maintenance
In the fall, remove any debris and prepare your pond for winter. In spring, clean your pond and ensure the pump is functional, gradually adding fish and plants back into the water.
3. Keeping the Water Clear
Consider adding a filter system or using natural methods like introducing certain plants that can help keep the water clear and oxygenated.
Conclusion
Building a raised brick pond is not only a fulfilling endeavor but also a wonderful way to enhance your garden, create a habitat for aquatic life, and enjoy nature from the comfort of your home. By following this guide, you will have a beautiful focal point in your yard that provides joy for years to come.
If you want to explore further into the essentials of pet care and services, visit us at Broadley Aquatics for expert advice and assistance.
how to build a raised brick pond