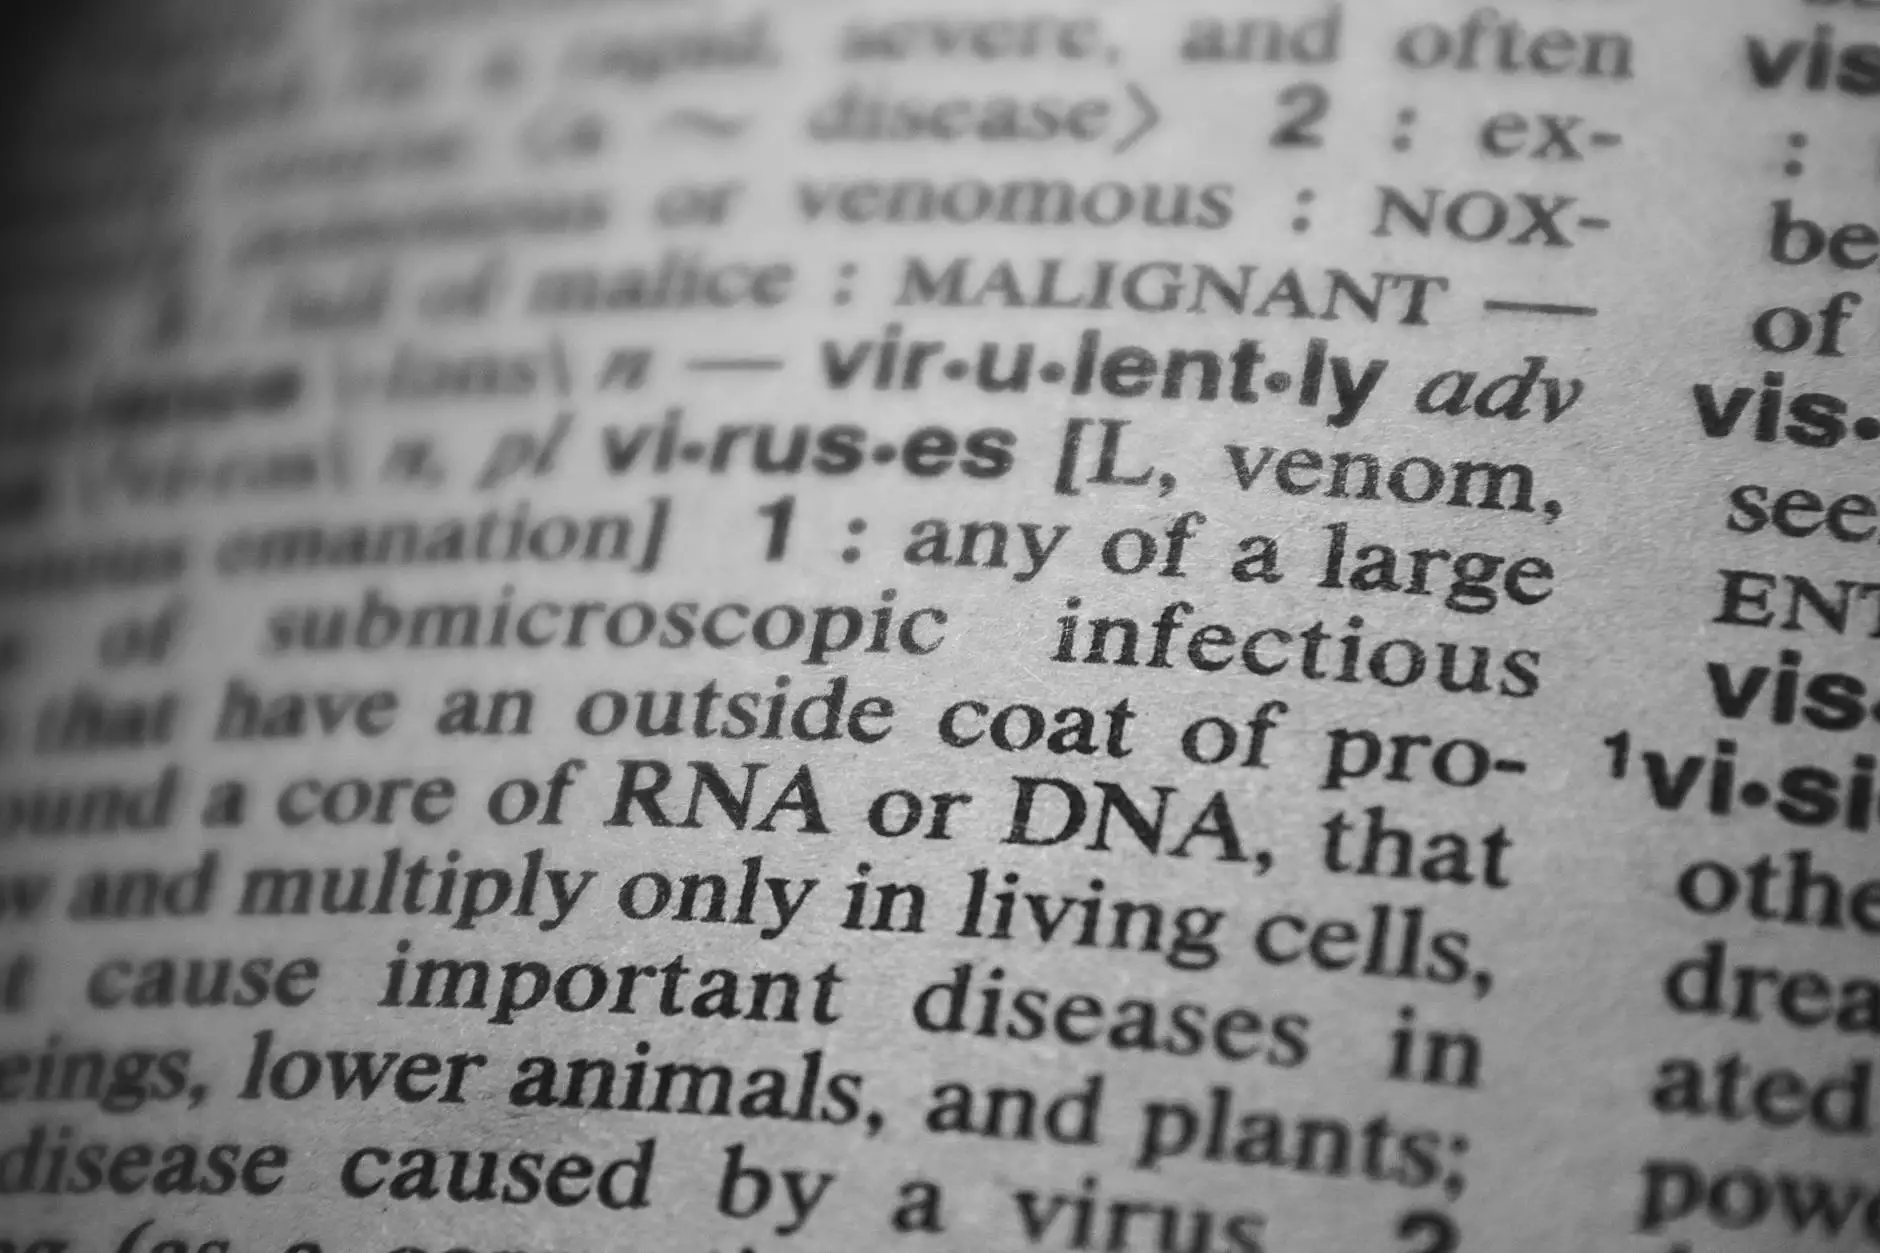
How to Setup VPN on Router: A Comprehensive Guide

Introduction
Welcome to ZoogVPN, a trusted provider of telecommunications and internet services. In this comprehensive guide, we will walk you through the process of setting up a VPN on your router. Setting up a VPN on your router allows you to protect all devices connected to your network and enjoy secure and private internet browsing. Let's get started!
Why Setup VPN on Router?
Setting up a VPN on your router offers several advantages. Firstly, it provides all devices connected to your network with the benefits of VPN encryption, ensuring your online activities remain private and secure. Secondly, it saves you the hassle of configuring VPN settings on each individual device. Lastly, it allows you to bypass geographic restrictions, granting access to region-locked content.
Choosing the Right Router
Before setting up a VPN on your router, it's essential to ensure your router supports VPN connections. Not all routers have this functionality, so it's important to check the manufacturer's specifications or consult their customer support. Additionally, some routers come with built-in VPN client capabilities, making the setup process even easier.
Step-by-Step Guide to Setup VPN on Router
Step 1: Obtain VPN Credentials
In order to set up a VPN on your router, you will first need to sign up for a VPN service. ZoogVPN offers a reliable and secure VPN service with various pricing plans to suit your needs. Once you have subscribed to a VPN service, you will receive VPN credentials via email.
Step 2: Access Router Settings
To access your router settings, open a web browser and type in the IP address of your router. The default IP address and login credentials can usually be found in the manual or on the back of the router. Log in to your router's admin interface.
Step 3: Locate VPN Configuration
Once logged in to your router's admin interface, look for the VPN configuration settings. These settings are usually found under the "VPN," "WAN," "Network," or "Setup" section of your router's menu.
Step 4: Configure VPN on Router
Enter the VPN credentials you obtained in Step 1 into the appropriate fields. This typically includes the VPN server address, username, and password. Make sure to select the appropriate VPN protocol and encryption options recommended by your VPN service provider.
Step 5: Save and Apply Settings
Once you have entered all the required VPN configuration settings, save and apply the changes. Your router will then establish a VPN connection with the specified server using the provided credentials.
Step 6: Connect Devices to VPN
Now that your router is successfully configured for VPN, all devices connected to your network will automatically be protected. Simply connect your devices to the Wi-Fi network provided by your router, and they will benefit from the VPN encryption and privacy.
Conclusion
Setting up a VPN on your router is a smart and convenient way to secure your online activities and protect all devices connected to your network. By following this comprehensive guide, you can easily configure VPN settings on your router and enjoy the benefits of secure and private internet browsing.